In order to achieve this, we’ll be using Samba, which is integrated into Windows by default, and can easily be installed on Linux as well.
Samba will allow us the ability to access files from the file server as if the files were stored locally on a hard drive, using the same file system as regular files.
Creating Samba Share on Linux #
To start, one needs to know which folder they want to share, and needs Samba installed on their machine.
# Debian Based
$ apt-get install samba
# Arch
$ pacman -S samba
Then, one needs to create a user to login to the samba share, to ensure not anyone can access it. The -a means to add a user. One can also remove a user using the -x option.
$ smbpasswd -a sambauser
Next, we need to configure Samba, using it’s config files, so, as an admin or super user, enter:
$ nano /etc/samba/smb.conf
And scroll down to the bottom and add the options for the new Samba share.
[shareName]
path = /path/to/share
public = no
valid users = sambauser
read only = no
writable = yes
browsable = yes
Of course, changine options as needed. As an example, here’s my media share options:
[sambadisk]
comment =  Files Share
public = no
valid users = myself
read only = no
writable = yes
browsable = yes
path = /sambadisk
Once the options are set, save and close the file, then restart the Samba service to let it grab the new options.
$ service smbd restart
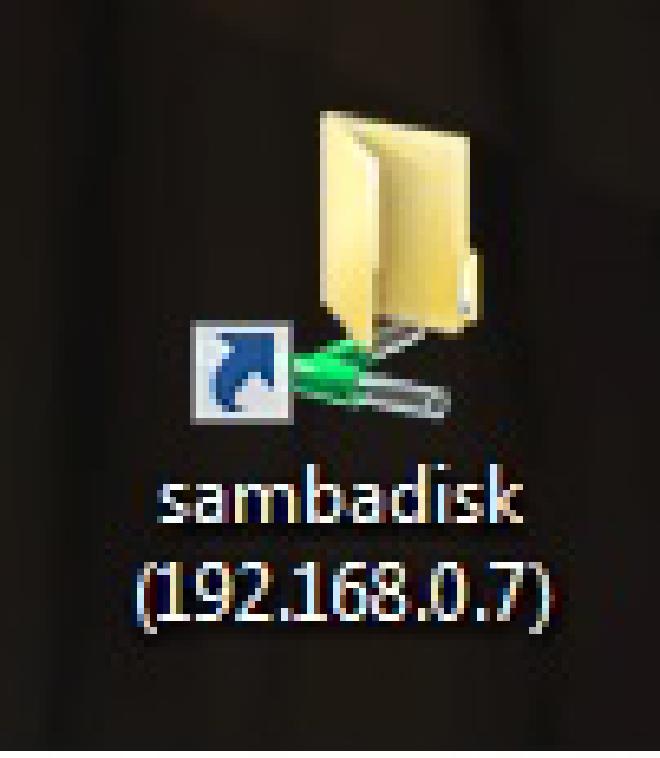
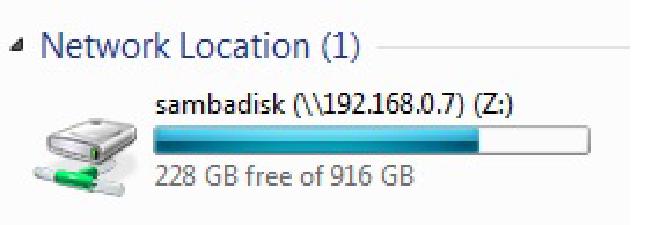
Accessing the Samba share on Windows #
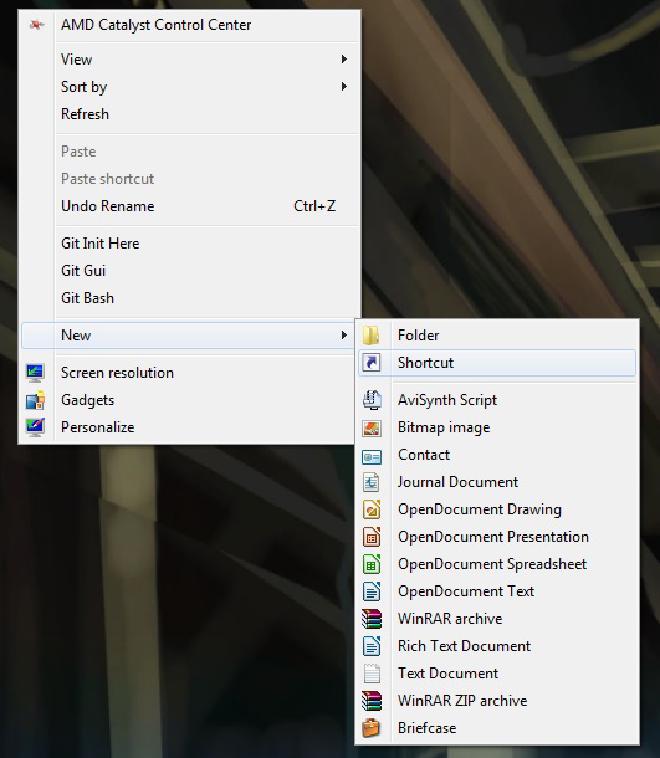
Accessing the Samba share on Windows is as easy as creting a shortcut. So, on the Desktop, right-click and go to New -> Shortcut
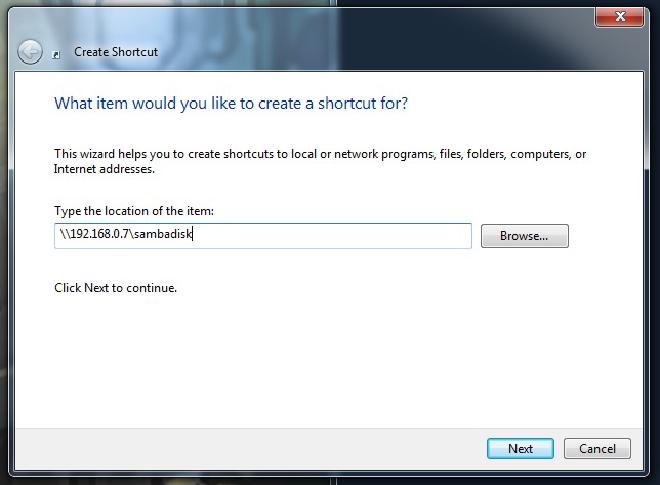
Then type in the network location of the new shared folder
\\SERVER-IP-ADDRESS\SHARENAME
Then enter the username and password for the samba account, and away one goes.